
When learning to paint a great galaxy painting you’ll naturally want to start adding in some planets to fill up a bit of space!
Adding a planet to populate your galaxy will bring even more depth into your painting. Plus it is super easy to do.
This, of course, involves circles, spheres, and varying degrees of color mixtures.
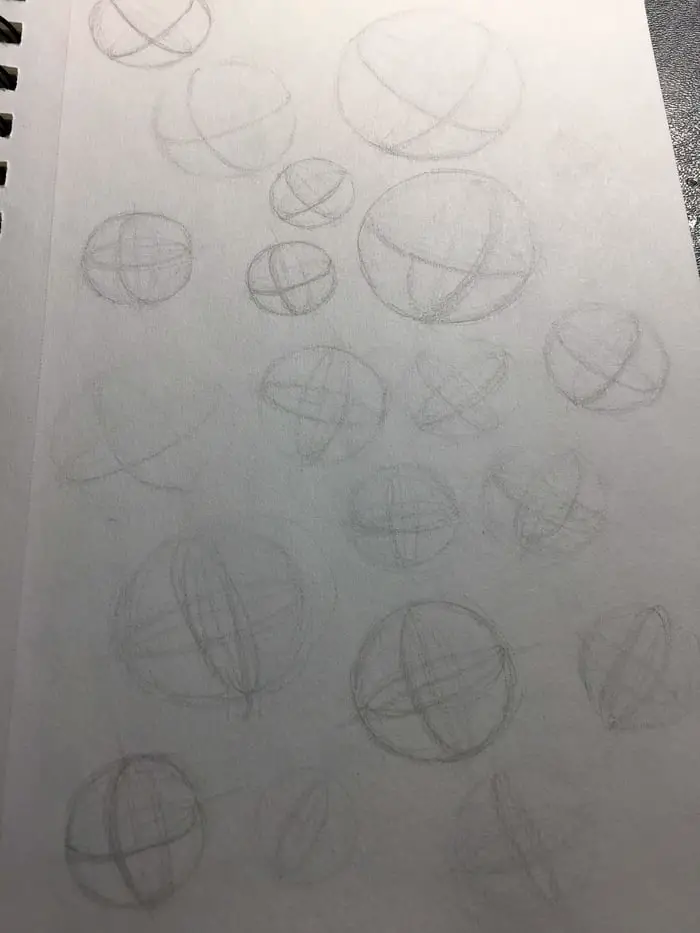
To start with, it will be helpful to know how to draw a sphere.
Even if you’re not into drawing, learning to draw spheres first will be enormously helpful to painting them. It’s not totally required though.
I must confess, I did not do this before attempting to paint my first planets.
It was only once I tried that I realized I needed to practice doing some spheres before I could complete the painting how I wanted.
Even then, I practiced by doing a different painting where I tried doing spheres.
It wasn’t until I started taking Brent Evistons’s “The Art & Science of Drawing” on Skillshare that I began to realize the benefits that drawing can have on my paintings. If you’re interested in learning to draw I highly recommend giving Brent’s course a try!
There are a ton of free resources online as well on how to draw a sphere so I’m not going to go over it here. Perhaps I’ll do a separate page on it later. Let’s get to painting some planets!
Related Articles:
- How To Paint A Galaxy (Easy Step By Step Guide) New!
- How To Paint A Moon Suspended In Space In 8 Easy Steps
- Easy Galaxy Painting For Beginners Original!
- Planning Physical Canvas Paintings Using Digital Tools
- Acrylic Painting For Beginners – Your Guide to Getting Started
How To Paint A Planet
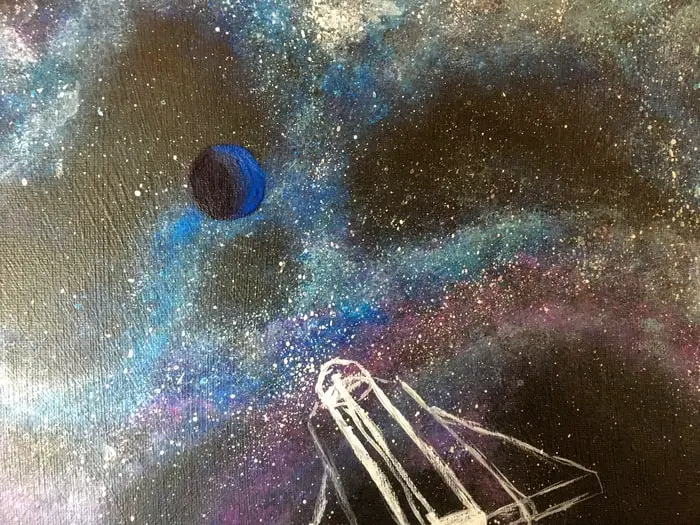
So you have your galaxy painting prepared and are ready for some planetary bodies.
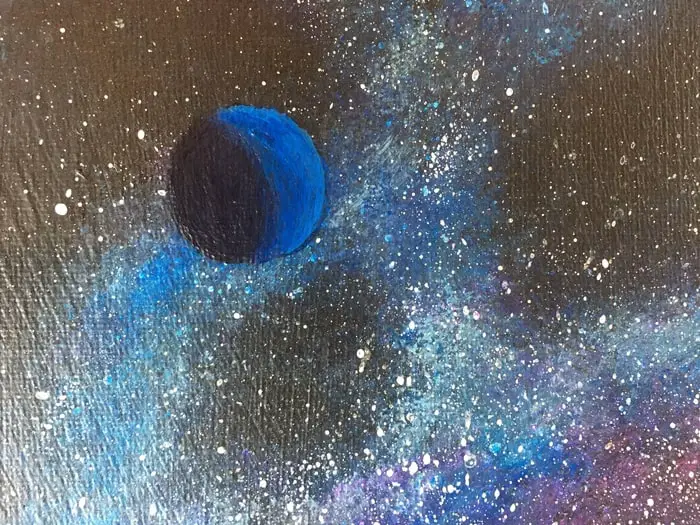
Here is one I created from the imagination after doing a number of galaxy paintings. It has been waiting for some time to be completed.
For this painting, I want my planet to be off in the distance so I’m going to make it a bit on the smaller side.
I plan to try to add an approaching spaceship in the foreground as well.
You’ll see in some of these pictures me planning various different spaceships out but I’ll cover that later when I get better at it. For now, let’s just focus on the basics of painting planets.
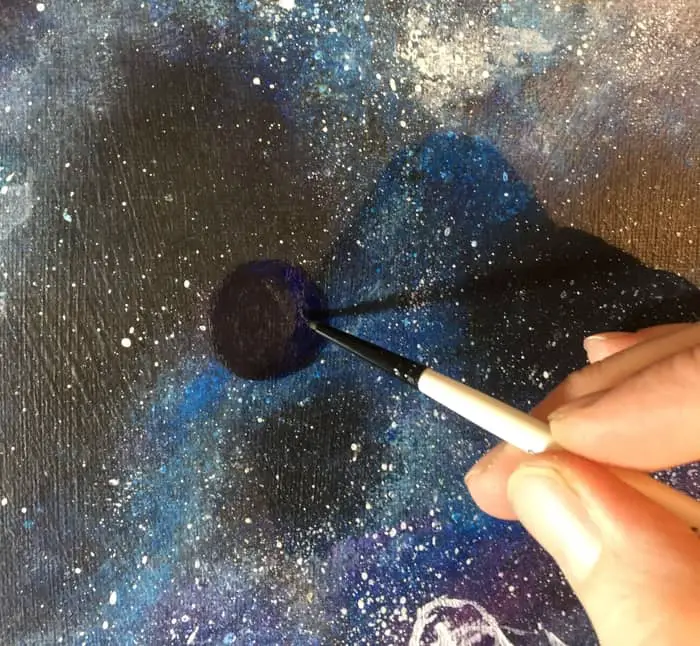
STEP 1: PAINT A BLACK CIRCLE
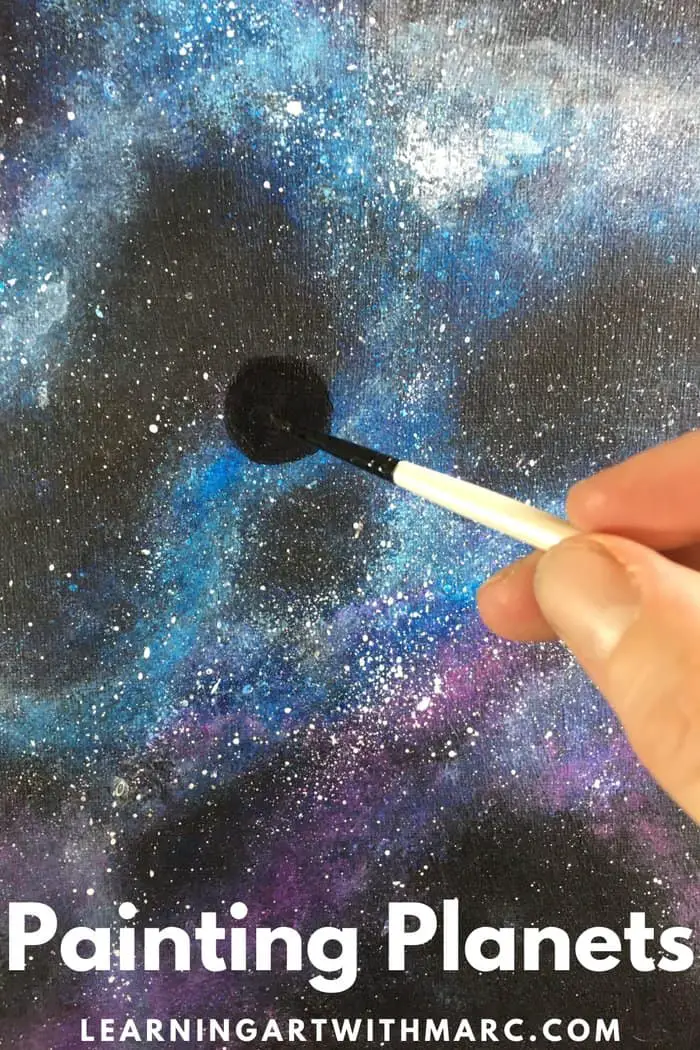
The first thing to do when painting a planet is to paint a black circle where you want your planet to be.
What brush you want to use for this depends on what you’re comfortable with. As you can see I’m using a smaller brush here since I’m going for a smaller circle.
One thing to remember too, which is something you will learn when learning to draw circles, is to keep the motion of the circle coming from your shoulder and not your wrist.
STEP 2: DECIDE WHERE YOUR LIGHT SOURCE IS
Once you get the base layer for your planet down the next thing you need to do is decide where your light source is coming from.
Here you can see I have my light source coming in from the top right side of the canvas. This is an example of some digital brainstorming I did to decide how I wanted to finish this painting out.
Which is actually something I wrote about here.
In the actual painting, I have made the planet quite a bit smaller to make it look further away. The spaceship is coming out very different then what you see in this digital concept drawing.
Either way though, it gave me a direction to work in and is coming out similar to what I had planned.
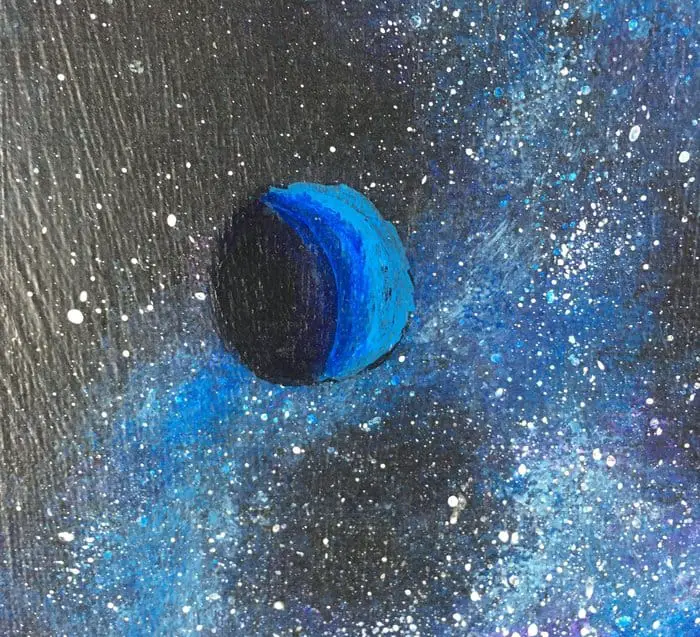
STEP 3: PAINT A LAYER OF DARK BLUE
Since we now know which direction our light is coming from we know which half of our planet will be illuminated with the light.
Our next step is to start layering our colors onto our circle. Since this is a planet that is being approached by a spaceship I want to make it a habitable planet with water.
So I’m going to start with a darkened blue.
What colors you use are entirely up to you and what you’re going for.
I just recommend starting with your darker colors first and gradually working your way into the lighter colors your planet will be reflecting.
So start by putting on a layer of your darkest color across the whole planet. Go more saturated on the side that the light is hitting and spread it thinner as you go to the darker side of the planet.
Keep in mind the axis of the planet and the spherical nature of it.
Your ellipse of where your light will begin to fade into the dark half of your planet wraps around the axis.
Don’t be afraid of messing it up either. You can always paint over it and try again.
Like what I did here.
I didn’t like the gradient I initially had on this and decided to paint over it and try again.
This is one of the great things about working with acrylics.
It doesn’t take too long for the paint to dry so it is pretty easy to fix something as ugly as this gradient. Yuck!
STEP 4: ADD A BIT OF WHITE TO YOUR DARKEST COLOR
For the next layer, I lightened up my dark blue with just a dab of white. So whatever color you first used as your darkest color you now want to make just a bit lighter with a bit of white paint.
Then start by outlining the edge of the planet that the light is hitting first and start working your way in.
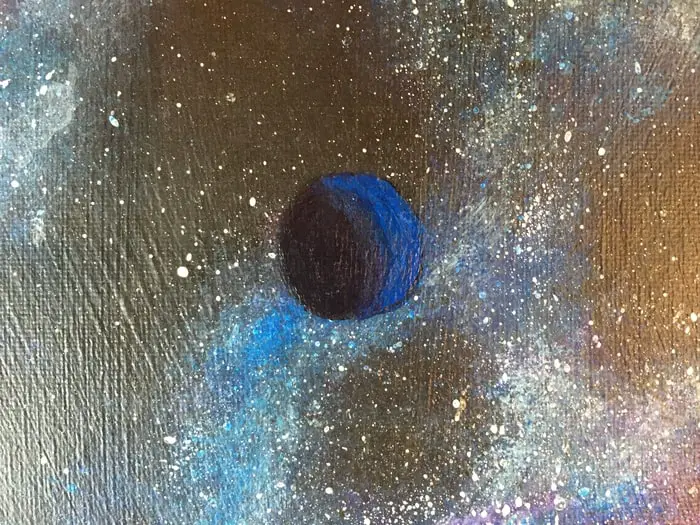
As you work your way in you want to start watering down your paint a bit so you get a thinner spread.
This will ensure when the paint dries a bit more transparency and help make getting a smooth gradient easier.
Here you can see where it is applied a bit too heavily so you can see a clear dividing line and not the smooth gradient we want.
I use two techniques to smooth this out. One is I clean the paint off my brush and get the brush a bit wet to help spread the pigments around a bit more smoothly.
Then I do the exact opposite.
When you get to the axis where the light starts to fade dry brushing it helps to get a better blend over to the dark side of the planet.
If you’re unfamiliar with dry brushing this is where you clean the paint on your brush off on something like a paper towel. Essentially making the brush totally dry.
This ends up leaving a small amount of pigment on the brush so that you can apply just a small amount of pigment at a time.
STEP 5: ONE MORE LIGHTER LAYER OF COLOR
Next, we lighten up our color from Step 4 just a small amount to enhance our gradient on the light side of the planet.
Follow the same techniques by outlining the edge of the planet the light is hitting first. This way if you apply too much you can wipe your brush off and spread it in helping with your gradient.
Once you do this a few times you will begin to get a feel for whether or not you need to add more water to your paint or not.
Sometimes when my color looks too bright I may even try to spread it around thinner by wiping off my brush and then dipping it in the water again. This will help spread the pigments around you already have on the canvas.
STEP 6: ADD YOUR CLOUDS
Our final step to complete our planet is to add some clouds. To do this I again added more white to the previous color I was using.
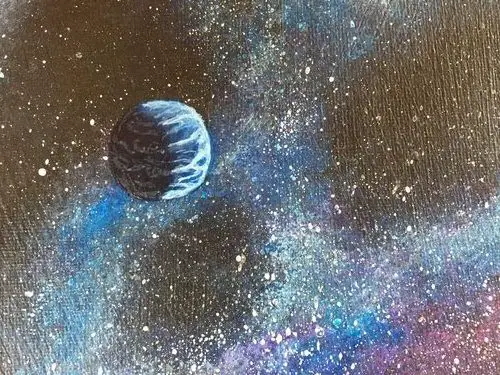
Now to get a cloud effect you’re going to need to water down your paint mixture a bit.
This will allow parts of the cloud to appear a bit transparent giving them that cloudy look we’re looking for.
Give them some waves and swirls to make them look a bit more cloudy. As you get to the dark side of the planet wipe the paint off your brush then dip the brush in your water and it should allow you to leave a trail of barely visible transparent clouds.
Allowing you to add the effect of clouds on the dark side of the planet.
This is pretty much all there is to paint a decent planet! Practice these steps and you will get the hang of it and be off to the moon!
